|
|
Interactive Tutorial
|
Import your email list, create your email message and send to your target customers. It is the fundamental for each email marketing campaign.
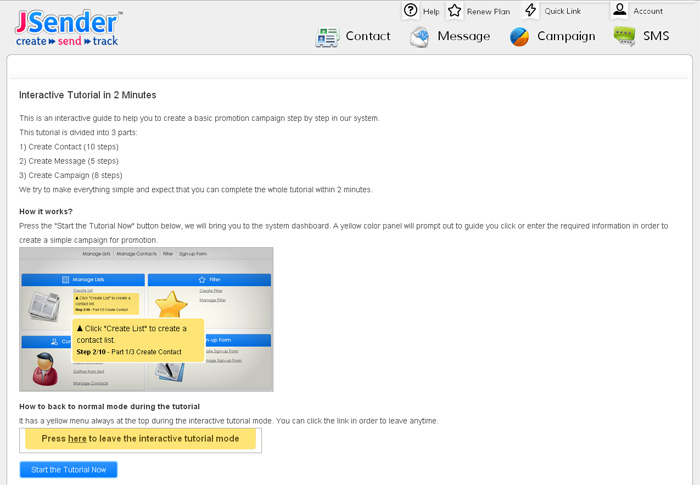
In our system, an interactive tutorial is available and it starts from the very beginning as a new user experience. In the tutorial, you can go beyond the static instruction and video presentation, our real system is the playground, we guide you to use our system step by step with clear instructions along side. Click the button, input the required information, all instructions are annotated with a clear yellow color instruction box near the action fields.
After going through with the 3 parts of the interactive tutorial: creating contact, create message and create campaign, you will complete sending an email promotion campaign to your email list imported.
Learn to use our system in 2 minutes!
Pop up instruction for each step
We make everything simple and we expect that you can complete the tutorial and have a basic understanding of our system in just 2 minutes!
|
A brief summary of what you will see in the interactive tutorial.
|
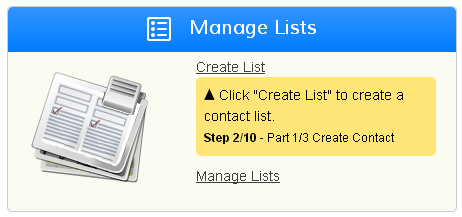
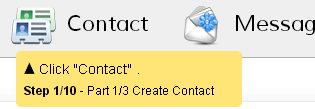
Create Contact
Before importing the contacts (emails), you can group the contacts into a contact list for ease of management. For example, a contact list from your Website subscribers, VIP customers, a list gathered from a trade fair, etc.
Click "Contact" menu and create a list.
There are three ways to create/import contacts. In the tutorial, you would try to create a contact list and add a contact (email) to the list created.
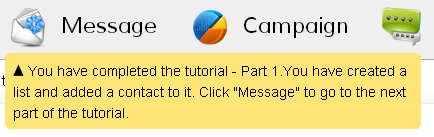
At the end of the part 1 of the tutorial, click "Message" menu and go to the next part.
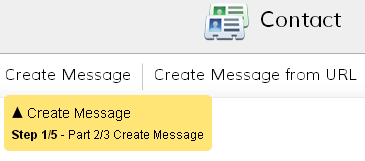
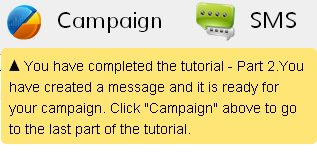
Create Message
After creating a contact in a list, it's time to to go to the next section and create the message that you want to deliver to your clients.
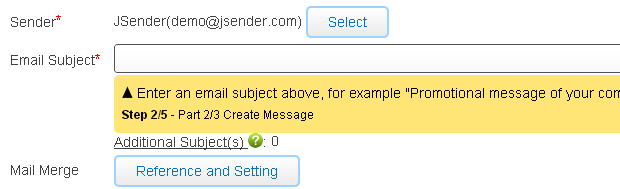
Create a message with subject, html an plain text content and you are ready to the last step of creating campaign.
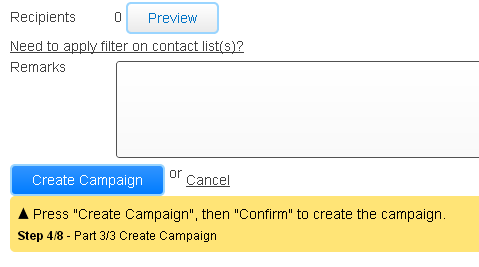
With contacts and message ready, the last part of the tutorial is to create a campaign.
The campaign creation process is simple, you just select what you have created (contact list and message), and press the "Create Campaign" button. Separation of the campaign and message allows you to re-use your message later.
Select the message and contact list you would like to deliver.
Finally, you can view your campaign report after you sent out the emails.
How to enter the interactive tutorial?
It has two entry point to the interactive, tutorial. After login to our system, you can
1) Click the small banner in the dashboard, or
2) Go to the top right corner, under your login name, click "Help"
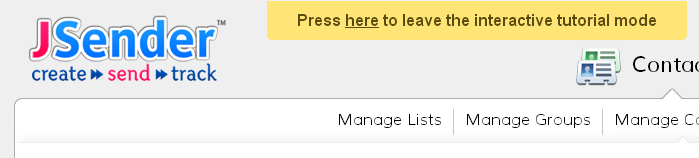
How to leave the interactive tutorial?
It has a yellow panel always been shown at the top area during the interactive tutorial mode, you click the link there and back to normal mode anytime.
|
|
 sales@jsender.com
 +852 3504 3712